Here are our tips for using an eyebrow pencil alone to define and shape your brows:
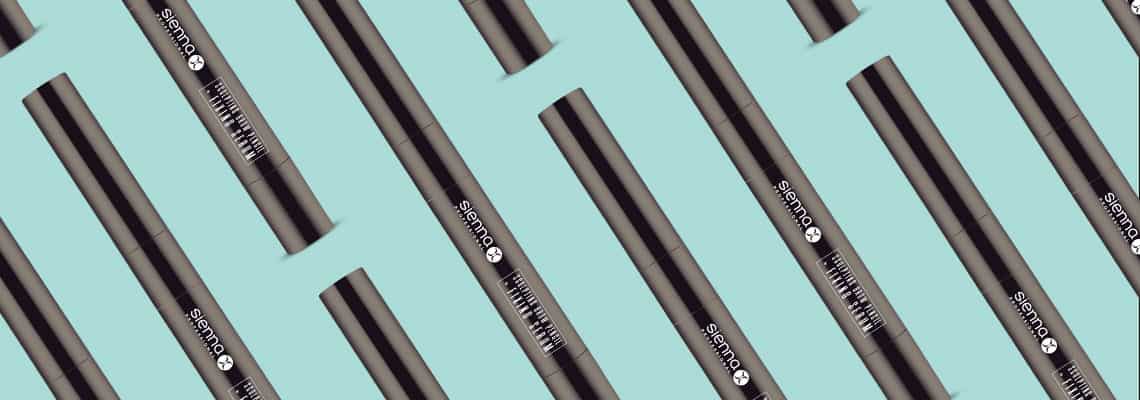
- Always sharpen your eyebrow pencil first. A pointed tip will allow you to create the illusion of finer hairs with a simple flick of the hand. Use a blunt pencil and it'll look like you've drawn your brows on with a crayon in a solid line. (Pro tip: order our new Sculpting Brow Pencil and ditch that pencil sharpener! Simply twist the pencil to reveal the triangular-shaped tip and draw on a structured or fluffy finish!)
- Use a spoolie to brush the thicker part of each eyebrow and arch upwards. Brush the finer tails of your brows out towards your temples.
- Now you've brushed out your brows you should be able to see any gaps and fill them in. Use your pencil to lightly draw in individual hairs, focusing along the arch and tail to build up a denser pigment and richer, textured-looking brow. It's normal to have finer. sparser growth on the bit of your eyebrow that's closest to your nose so don't overdo it in this area -- keep each stroke light and minimal.
- Finally, use your spoolie to brush through your brows again to instantly soften any harsh markings and encourage a natural-looking finish. Better yet, use the other end of your Sienna X Sculpting Brow Pencil to reveal the Brow Fixing Serum -- use the fancy formula to brush and set your brows for the entire day!


